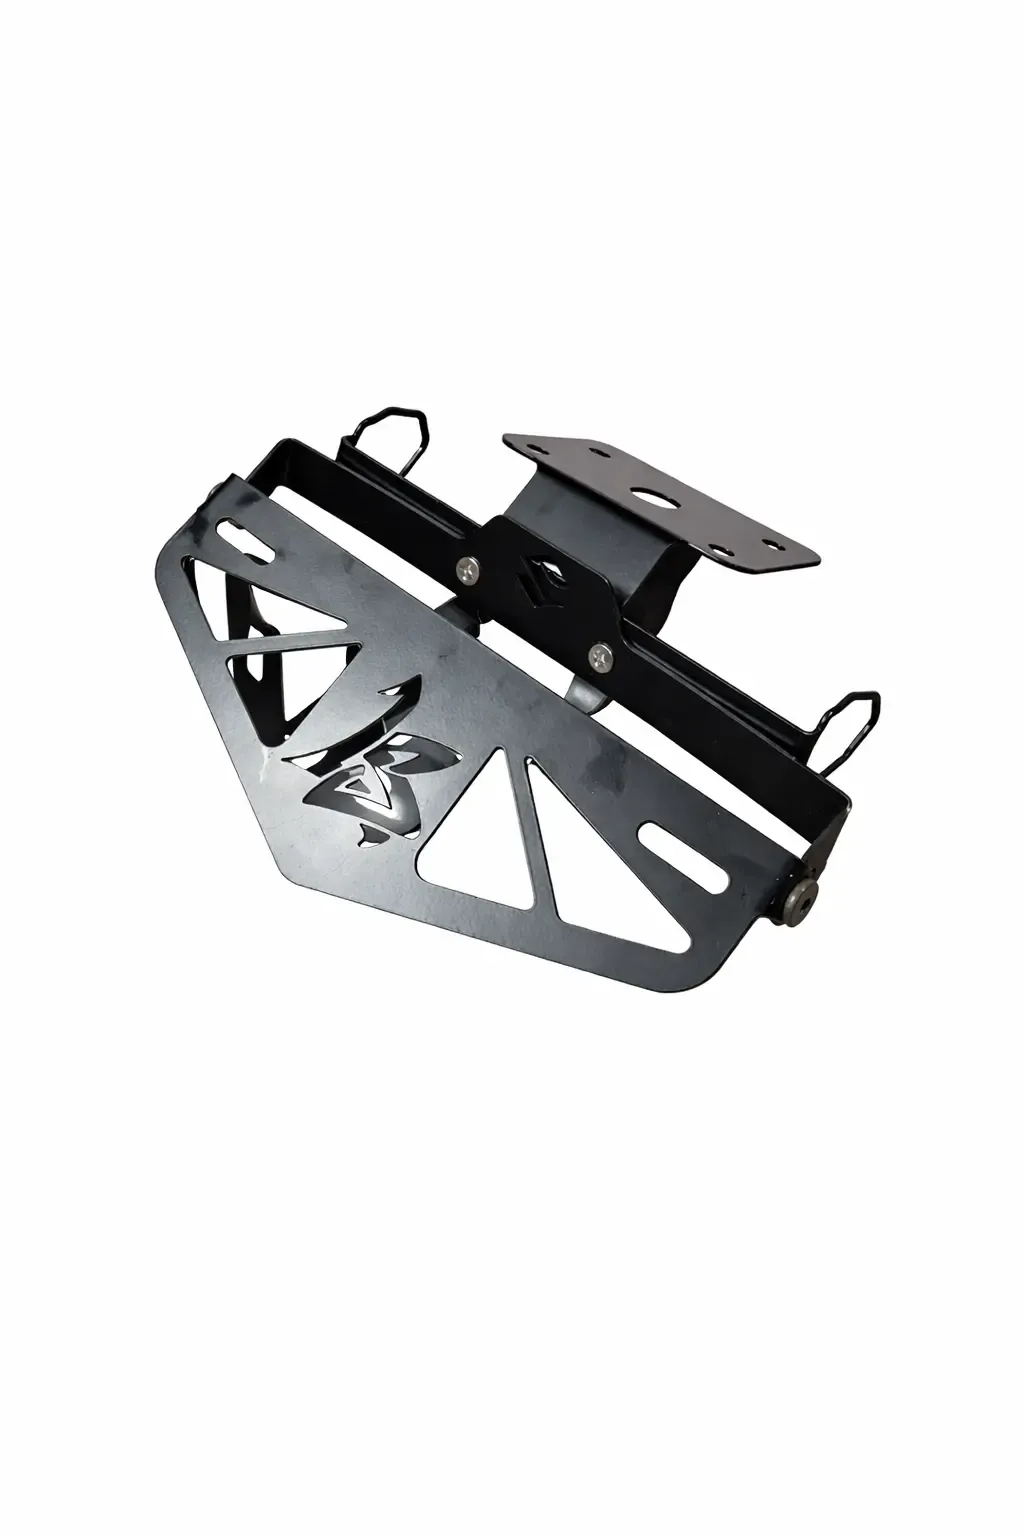
What a tail tidy actually replaces
A tail tidy usually replaces the long original rear fender or plate carrier with a more compact mounting arrangement.
Depending on the motorcycle and product, the assembly can involve the main bracket, number-plate mount, plate light, indicator mounts or integrated lighting, reflectors, fasteners, spacers, connectors and routing provisions. Do not compare kits only by the visible metal piece; missing hardware or electrical adaptation can change both installation time and final cost.
The original assembly may also manage spray, cable support or a regulatory function that is not obvious in a product photo. A smaller replacement can change wet-weather behaviour and the exposure of connectors or bodywork. Decide whether that trade-off suits the way you use the motorcycle.
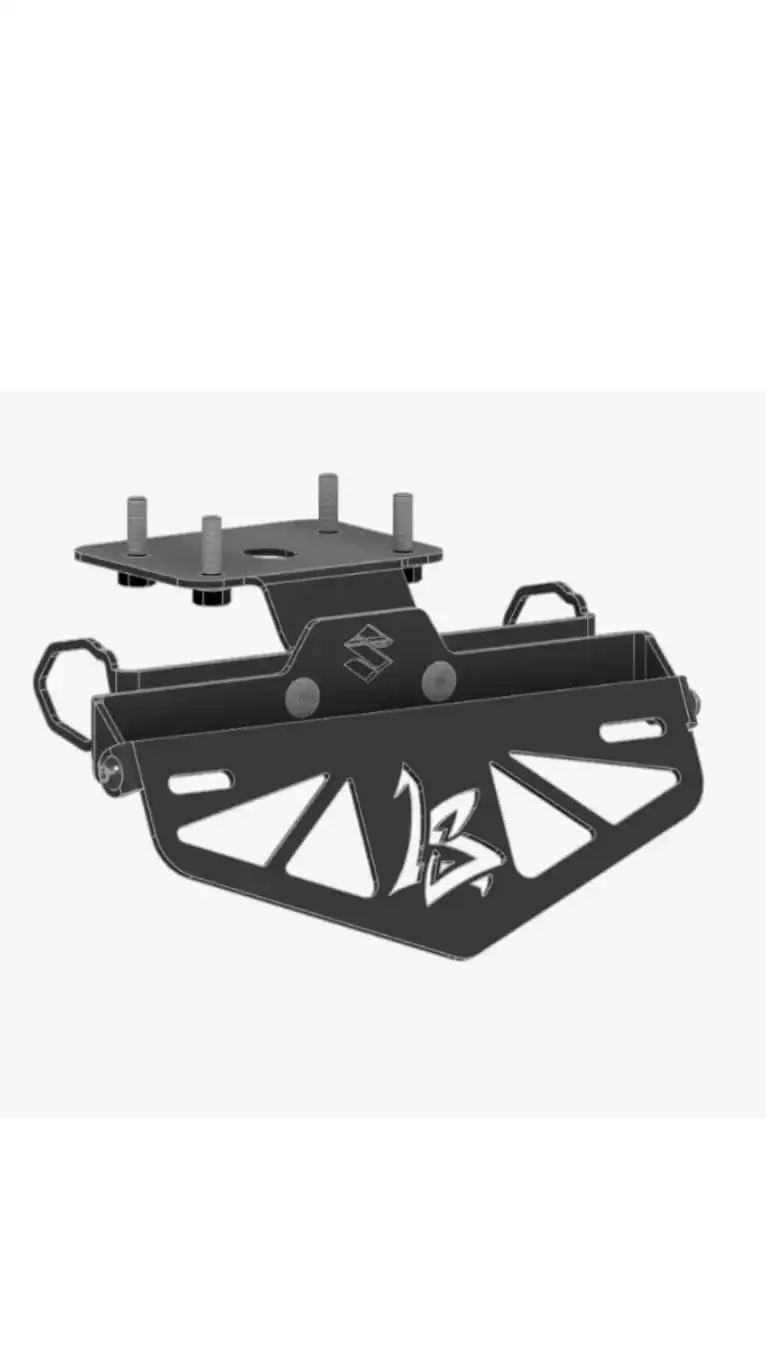
Model and year fitment comes before style
Motorcycles that share a model name can change subframes, panels, connectors, lamps or plate carriers across years and markets. Confirm the exact model, year and variant with the seller or workshop. If the bike already has an aftermarket exhaust, luggage rack, bodywork or earlier tail modification, disclose it before assuming a listed kit will fit unchanged.
LS Customs currently lists fitment ranges for Aprilia RS457, Ducati Panigale V2, Ducati Panigale V4 and Yamaha R3 on its available tail tidy pages, with custom assessment for other sports and naked motorcycles. The product page still asks for final model and year confirmation because a range is not an unconditional guarantee for every configuration.
- Photograph the rear from behind, both sides and underneath in good light.
- Identify exhaust, luggage, bodywork and indicator changes.
- Check whether the original plate light or connectors are reused.
- Ask whether cutting, drilling or irreversible wiring changes are expected.
Separate indicators or integrated signals
A standard tail tidy retains separate indicator pods. It can offer a familiar signal layout and lets the bracket and indicator choice be discussed independently. An integrated design combines functions into a cleaner lighting signature, but the unit, wiring, visibility and replacement route become more closely connected.
Choose based on the desired look, visibility, serviceability, part availability and current road-use requirements. Do not assume that “integrated” or “plug-and-play” is a technical standard. Ask exactly which functions the product performs and what the installation changes on your motorcycle.
| Question | Separate indicators | Integrated layout |
|---|---|---|
| Visual priority | Distinct pods with a compact carrier | Minimal, unified rear-light signature |
| Component replacement | Indicators may be addressed separately | Assembly and wiring are considered together |
| Installation focus | Mount spacing, connectors and plate layout | Function mapping, visibility and electrical fitment |
| Best for | Riders prioritising familiar separation or modularity | Riders prioritising a cleaner integrated appearance |
What a careful installation checks
The installer confirms the kit and motorcycle, removes the original carrier, protects reusable parts, fits the bracket and hardware, routes the relevant wiring and checks the finished assembly. Nearby heat, sharp edges, tyre travel, suspension movement and service access matter even when the stationary bike looks clear.
Electrical work should avoid unsupported joins, strain and water exposure. The exact connector or control requirement varies by model and product, so a universal claim is not useful. After installation, check the rear light, brake light, indicators, plate light and any related warning behaviour that applies to the setup.
- Mounting security and correct hardware engagement.
- Tyre, suspension, exhaust and bodywork clearance.
- Protected wiring path with suitable strain relief.
- Plate position, illumination and signal visibility.
- Access for future removal, cleaning or service.
Wet weather, cleaning and maintenance
A shorter rear carrier can allow more spray onto the tail, rider or luggage. Clean the assembly without directing high-pressure water into connectors or lamp housings. After rough roads or initial use, inspect for looseness, contact marks, damaged wiring or a changed plate angle and follow any product or workshop check-back advice.
If a lamp function becomes intermittent, do not keep riding at night on the assumption that it will return. Check the obvious condition safely and involve the workshop where wiring, control modules or access are not straightforward. Retain the original parts and installation invoice.
Road-use checks belong in the buying decision
Before purchase, review current requirements for the number plate, plate illumination, rear and brake lights, indicators and reflectors. Product approval claims need to apply to the actual product, configuration and jurisdiction. A tidy appearance does not justify hiding, trimming or stylising the registration plate.
For a broader checklist, read the LS Customs legal bike modifications guide and open the current official sources linked there. The workshop can explain product fitment and operation; it does not replace the registering authority, insurer or enforcement authority.
Common tail tidy buying and fitment mistakes
The first mistake is buying by model name without confirming the year, variant and current rear assembly. The second is comparing only the bracket while ignoring indicators, plate illumination, reflectors, connectors and included fasteners. A low product price can become an expensive installation if critical parts are absent or incompatible.
Another mistake is choosing the smallest plate angle or tightest tyre gap from a stationary photograph. The suspension and tyre need appropriate clearance through real movement, and the plate and lighting need to remain usable and visible. Luggage, a pillion, an aftermarket exhaust or a different tyre can also affect the available envelope.
Electrical shortcuts are a further risk. Twisted-and-taped joins, unsupported resistors, strained connectors or routing near heat and sharp edges can create intermittent faults later. Ask the installer how the product connects, how the wiring is protected and whether the bike can be returned to the original assembly.
Finally, do not throw away the original carrier immediately. Label its fasteners and store the assembly. It may be useful for future sale, service, inspection, a product fault or a change in your riding and luggage needs.
- Wrong fitment assumption: confirm model, year, market variant and current parts.
- Incomplete-kit assumption: list bracket, hardware, lamps, connectors and plate/reflector provisions.
- Static-clearance assumption: consider movement, load, tyre, exhaust and luggage.
- Electrical shortcut: require protected routing and a clear connection plan.
- No reversal plan: retain original parts and installation records.
Recheck the installation after real riding
A final workshop check happens before handover, but the first rides expose the assembly to vibration, spray, heat and road impacts. Inspect the plate, fasteners, indicator mounts and visible wiring after the initial period recommended by the product or workshop. Look for witness marks, looseness, changed alignment or a connector that has moved toward heat or a sharp edge.
If the bike carries luggage or a pillion, recheck the intended setup under that use rather than assuming an unloaded workshop view covers it. Stop and arrange inspection if anything contacts the tyre, suspension, exhaust or moving bodywork.
Keep a simple record of the product, installation date and any follow-up adjustment. If another workshop later removes the rear bodywork, mention the tail tidy and ask it to restore every clip, support and connector to the documented route. Small changes made during tyre, exhaust or electrical work can alter clearance that was correct at the original handover.
Repeat the visual check before a long trip, especially after other rear-end work.
Questions to ask before paying
Confirm the exact product, style, model and year, what is included, final price, stock or production status, installation, shipping, payment, warranty and returns. If the kit is custom or supplier-produced, ask when it becomes non-cancellable and what evidence is needed for a fitment or defect claim.
LS Customs accepts UPI and cash. Its available product pages explain that final fitment, price, installation and shipping are confirmed on WhatsApp. Use the model-specific confirmation action rather than ordering from a photograph alone.